
I am going to do a review and tutorial on Urban Decay Starlight Glitter Body Art. It is really an awesome kit! My oldest son saw the kit and was asking me what is in this box for mommy and I told him it was a kit to create body art. He volunteered himself to receive the first art, and I obliged to his request with a BIG smile! So we will show you how we did it.
The following is what the box comes with. It comes in 5 stencil design, 5 glitter shades, a brush fan and a glue. Each stencil comes in a pair so you actually get quite a bargain for the price you pay. Can u guess how much I got it for? $9!! It is still available on their website, Urban Decay so if you like it, go to their website and grab some! You won't regret it.
Here are the pictures of the kit!


Here is the picture of the Glue and Fan Brush.


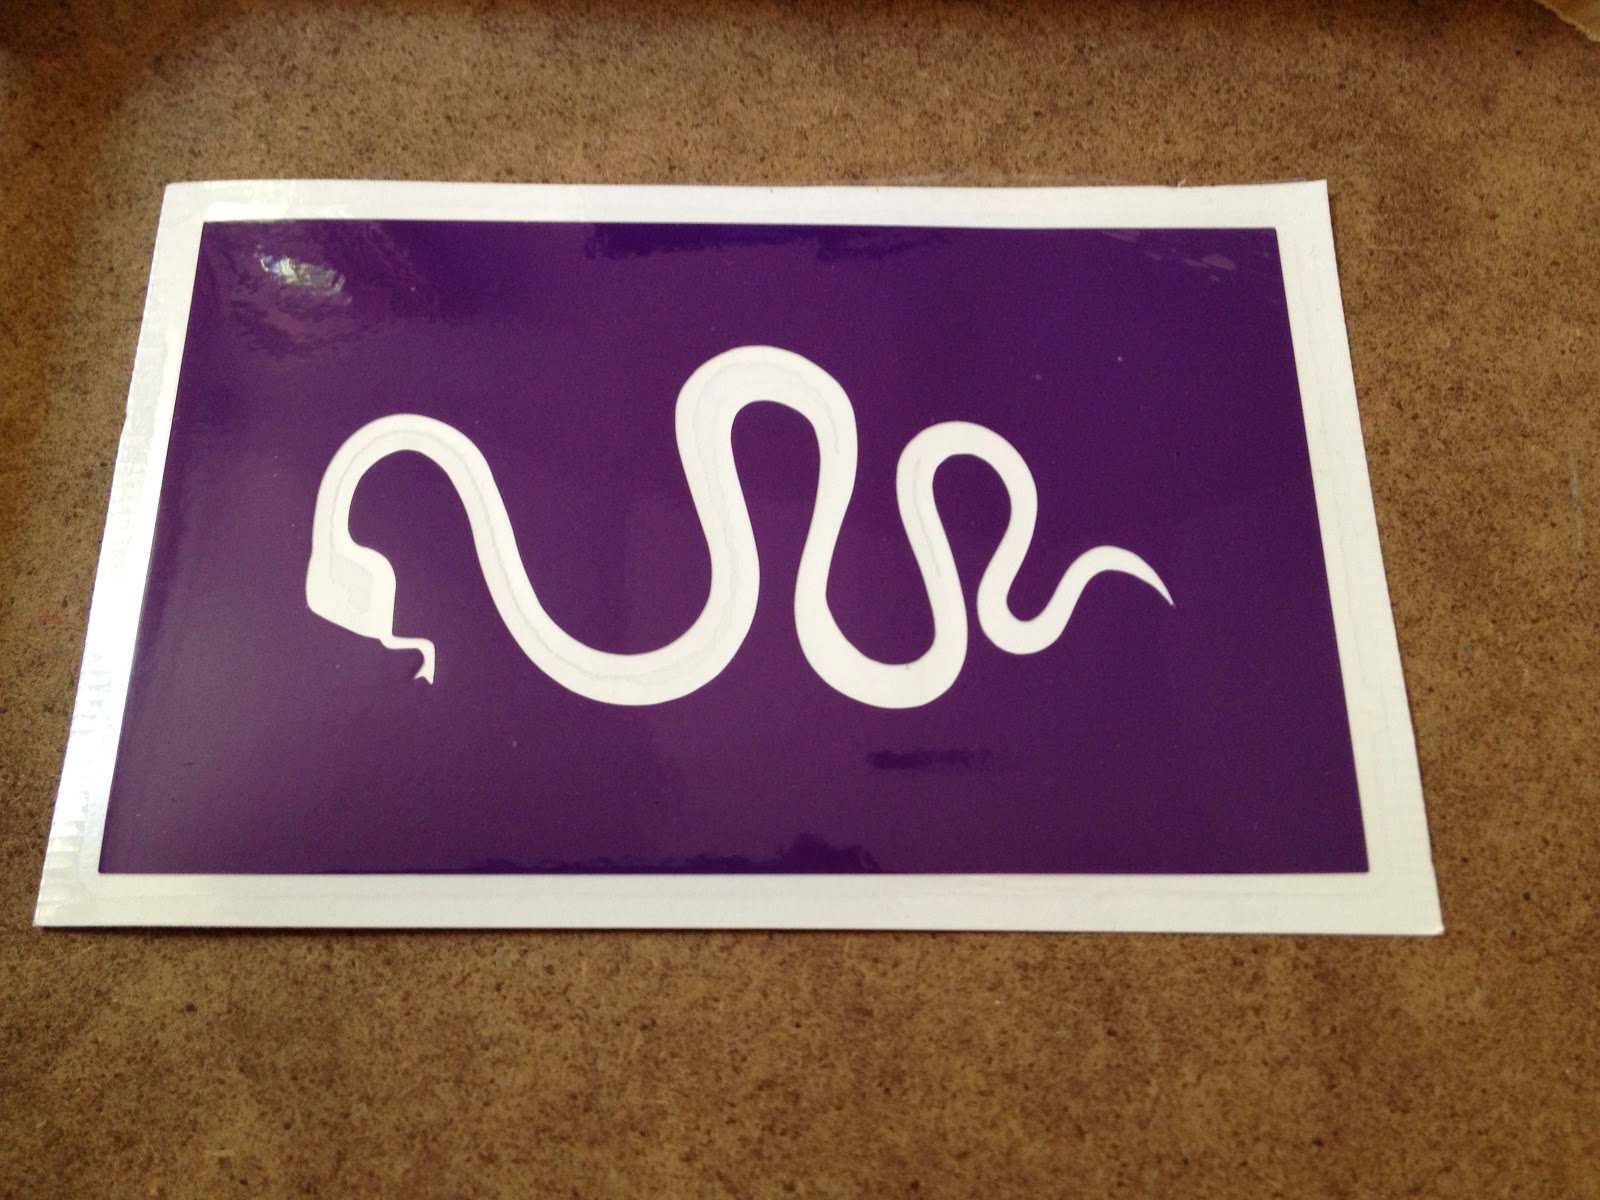
Here are the pictures of the stencils. It comes in a set of two. Great idea right? Just in case you ruin or break one, you have an extra one in hand. YAY!


 |
| The instruction from the package is very clear. Very simple and easy to understand. |
Alright!! Now let's move on to the FUN part!
Here is my AWESOME Volunteer! He is super ready for me to start the art on his body. I Love him SO MUCH!

Let's Get it on Mama. What's the hold up?
He picks the Snake as the pattern he wants to have. Start with the clean, dry, unmoisturized skin as the instructions said. Peel backing away from vinyl stencil and clear cover before firmly pressing both on skin. Peel cover from stencil. Apply thin coat of glue over open areas of stencil before peeling it off and this is where I didn't really read the whole thing carefully because I didn't peel the stencil off after applying the glue. LOL oooppss thank goodness for extra right? in case I ruin this one.

Well then after the glue has set for 10 secs, shake glitter over glue.
Anyhow, this is what it looks like after I put all the glitter onto the open areas of stencil that already have glue on it. My son chose Green and Gray as the glitter colors he wanted to have on his snake art.


VOILA!! This is how it turned out! I LOVE IT!


The glitter and combination of the colors are just so gorgeous. You can really see it even when he was running around and far away from you.
So do I think it is worth the money to spend on this kit? Absolutely! Especially when Halloween comes or that trip to the fair where you have to look for your children at times in the crowd. This glitter body art will help a little right? Ha ha...
Again, here is the link to the site if you do not wish to have to scroll all the way to the top: Urban Decay
I hope you like this review and tutorial. Please leave a comment or suggestion on how I can improve and what you would like to see from my blog. Thanks for visiting!
\
How fun is this kit??
ReplyDeleteI want it to play with myself lol Just because ;)
OH It is so so much fun! Especially around Halloween. (Skull image) it is my fav LOL ..I know what you mean because I definitely have my share of fun with the glitter. I just love Glitter :)
ReplyDelete